You can view this post in video form by clicking here.
This method is best suited for textbook or article notes, and is a version of revised notes. It is also well suited for books you plan on returning to the bookstore or books you have rented, as it does not involve writing directly in the book itself.
First, you’ll need to find a notebook, and the pens you like the best. My favorite notebooks to work with for note-taking, especially for my “revised” notes, are the Moleskine, hard or soft cover, in size extra large. For this specific class (Intro to Gender and Women’s Studies), I decided that lined pages would suit my needs better. For my math, engineering, and science classes, I usually opt for squared paper, as I draw in lots of diagrams and graphs.
My favorite pens ever are Staedtler Triplus Fineliners, so even though they show through the pages a little bit, I still choose to use them. I just love the way they write. I usually write out my notes themselves with a Pilot G2 05 with black ink, as it writes with a finer line and doesn’t bleed through quite as much.
I usually try to set up my notebooks about a week or so before class starts, that way it’s ready to go on my first day of class.

You’ll want to start off by setting up your notebook. On my first page, I put my course code for my university, as well as the course title.
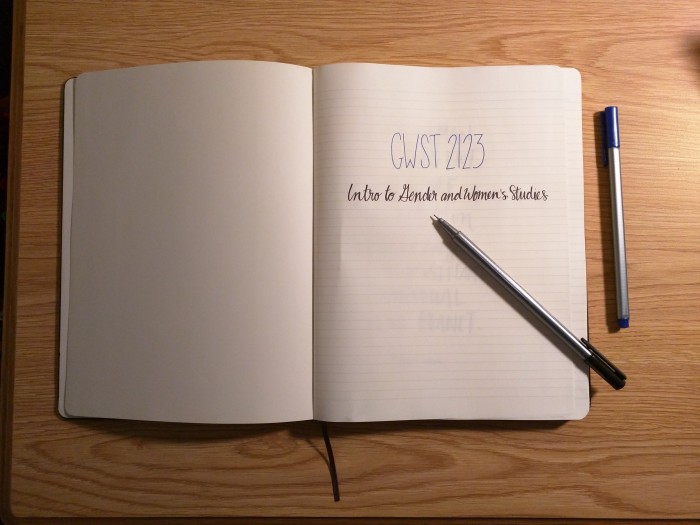
Next, and this is perfectly optional (I just like the way it makes the book look, especially at the end of the semester), I include some sort of related quote to the course. For my engineering courses (which are related to my major), I put a different quote at the beginning of each section. But as this is a two-month long course during the summer, I opted for one quote by Mohadesa Najumi at the beginning of my book.

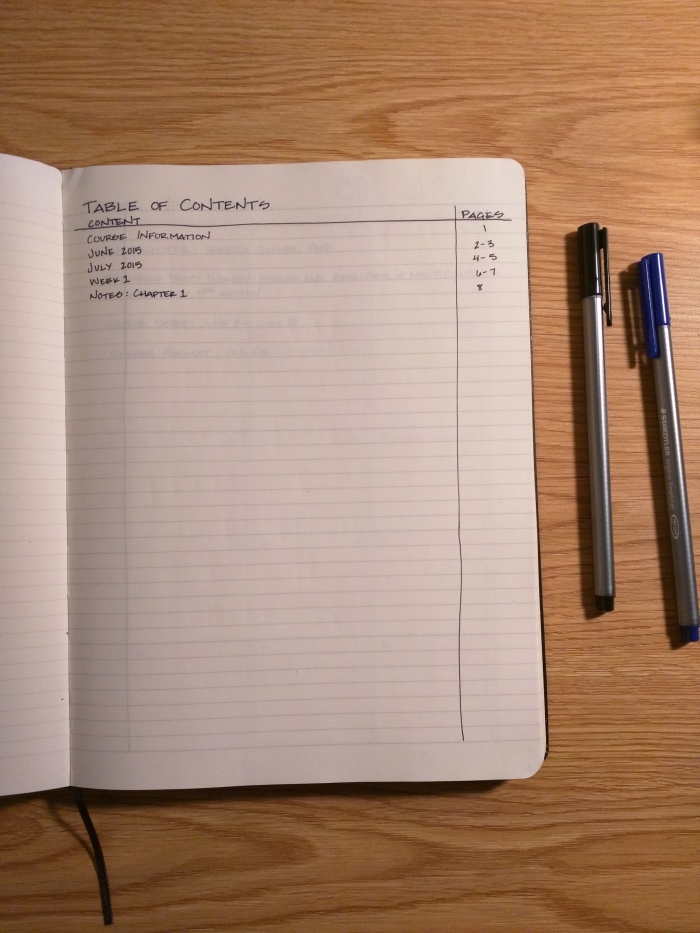
Next I set up my table of contents and include a page with basic course information. As this course is all online, my course information just included the start and end dates of the course, what time content is posted and on what day, and the name of my professor. For my usual courses, I will include the days of the week the class meets on and where, TA names and contact info, as well as posted office hours for my professors and TAs and tutoring hours either in the library or in the College of Engineering.
Next is one of the things I’m most proud of.
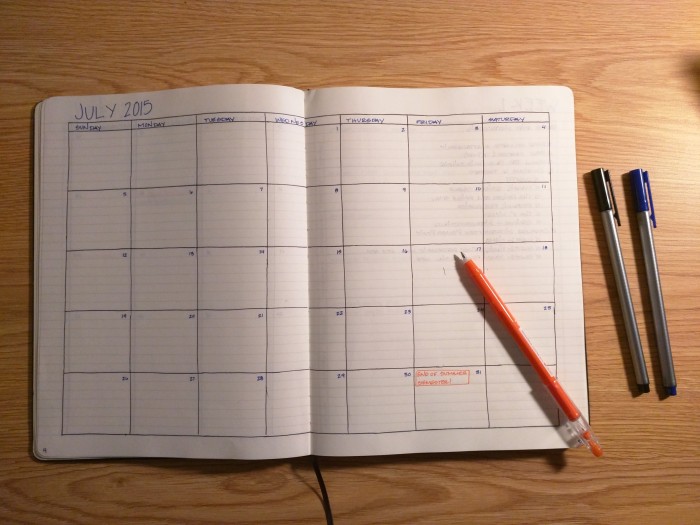
While I religiously use my Erin Condren planner to map out my days, weeks, and months, I have found throughout my college experience that including monthly views for the months my class ranges has been helpful. This way, there’s no sifting through the multiple colors I have in my planner, and everything related to that class is in the same notebook.
On this calendar I include start dates of the class, the end date, the dates of exams or quizzes, assignment deadlines, office hours, etc.
For this course, as I just started a few days ago, I don’t have a lot of dates or information, so my calendars are still very empty.

Next up I go to my weekly overview. At the beginning of each week, I set up a weekly layout, and I include a list of assignments, tests, quizzes, tasks, projects, etc that need my attention throughout the week, and I place the days I plan on doing them or the days they need turned in onto the weekly layout.

Now you’re finally ready to get into taking the notes.
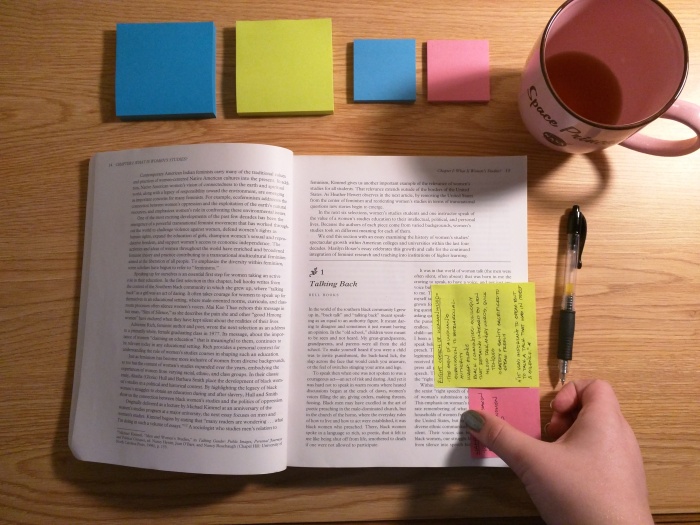
Gather your book, some sticky notes, and your favorite pen or pencil.
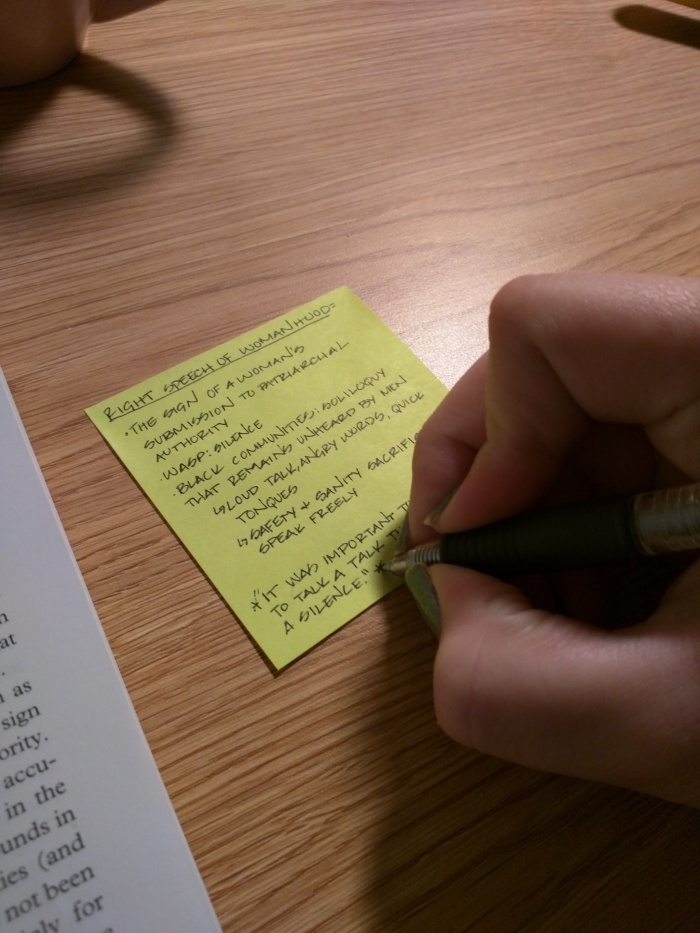
I color code my stickies so that the “revision” process later goes a bit smoother. In this case, I’m using blue to denote something interesting, intriguing, or thought provoking, greenish-yellow to represent the facts or important concepts, and pink for important vocabulary words and their definitions.

Read the selection once.
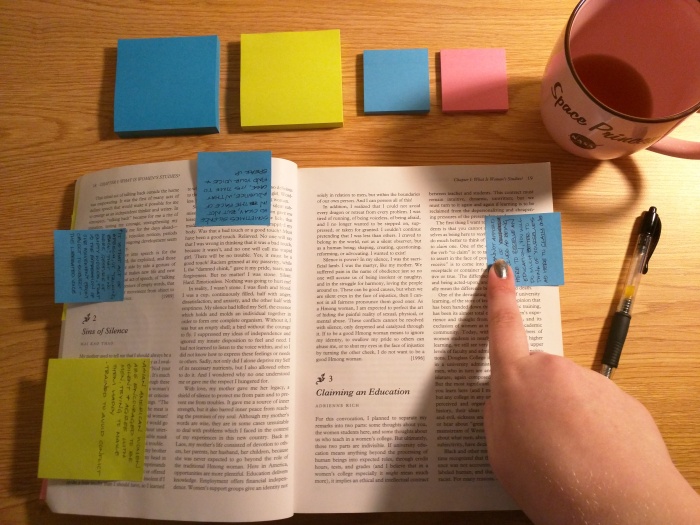
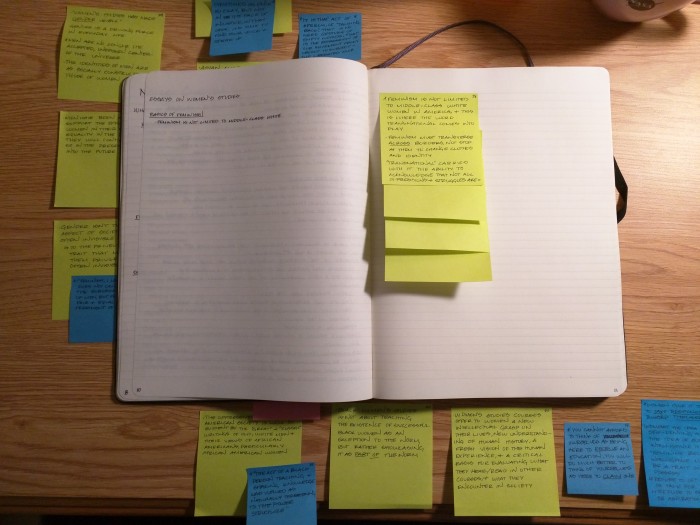
As you read along the second time, write notes on your stickies, and place them in a place of relevance directly on the page in the book. Just make sure you don’t cover up anything you need to keep reading.
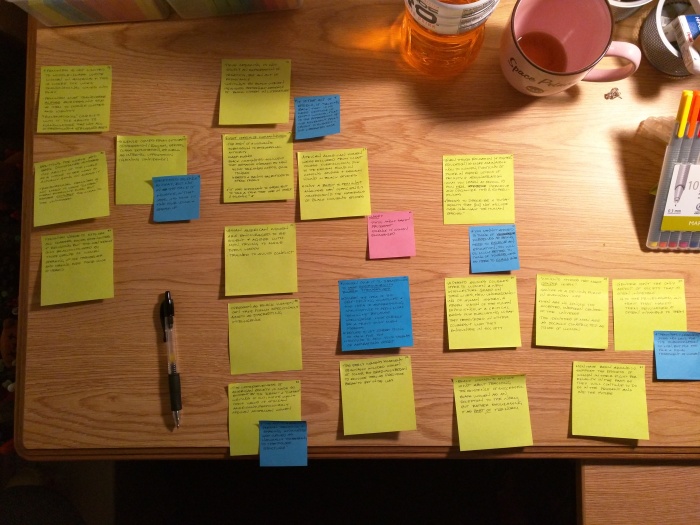
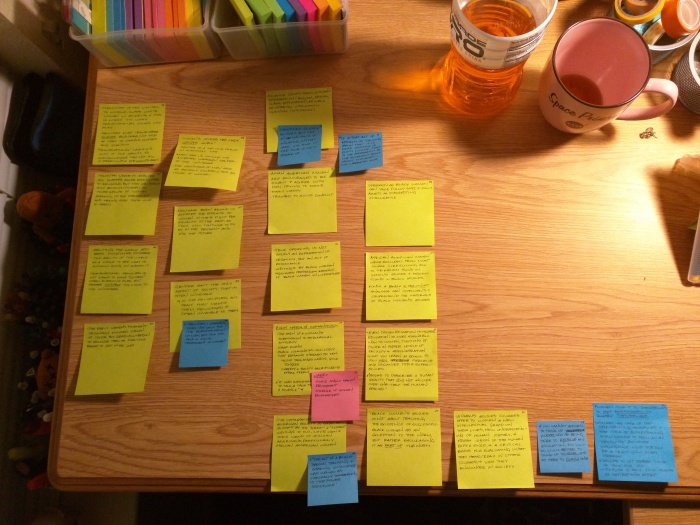
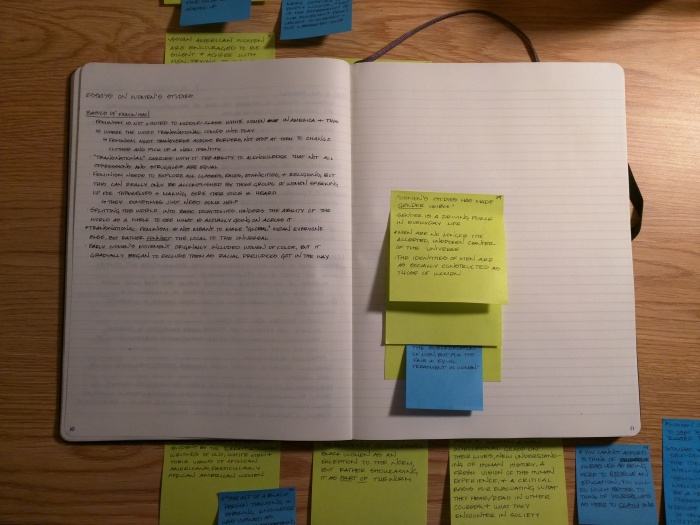
Now, once you’ve read all the material in questions (you can choose to break it up however you want, but since Chapter 1 was assigned for the week, I’ve elected to break it into chapters), carefully remove your stickies one by one and lay them out on a flat surface. This is when having a separate color for vocab can be helpful, as I sometimes put all of my vocab at the beginning or end of a section, especially if the section of reading was particularly large.
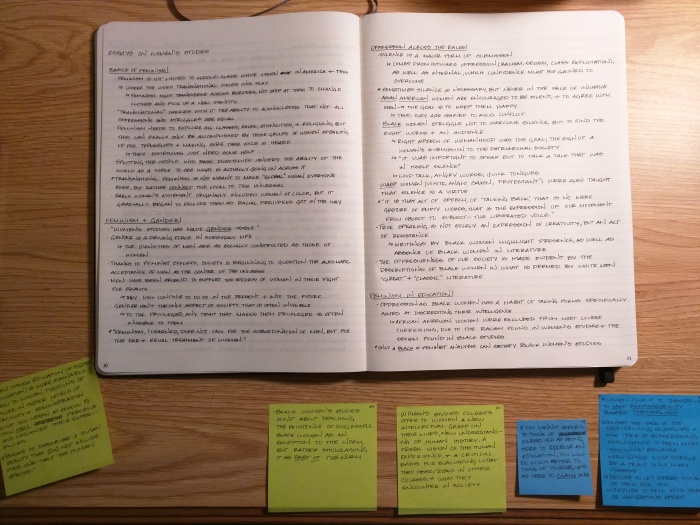
Organize your stickies in an order that makes sense to you, and use this order as your basis for transferring those notes into your notebook. The order you choose can just be lumping them under similar headings. Some classes even lend themselves to a nice chronological order. Whatever you choose, just make sure it’s something that will make sense to you when you come back to it in the end.

Now you just start writing everything from the stickies into your notebook. I like to take each category or subgroup and put them in the book on the facing page, then put them back in my textbook as I finish with each post it.
Before you know it, you’ve written all of your stickies into your notebooks.
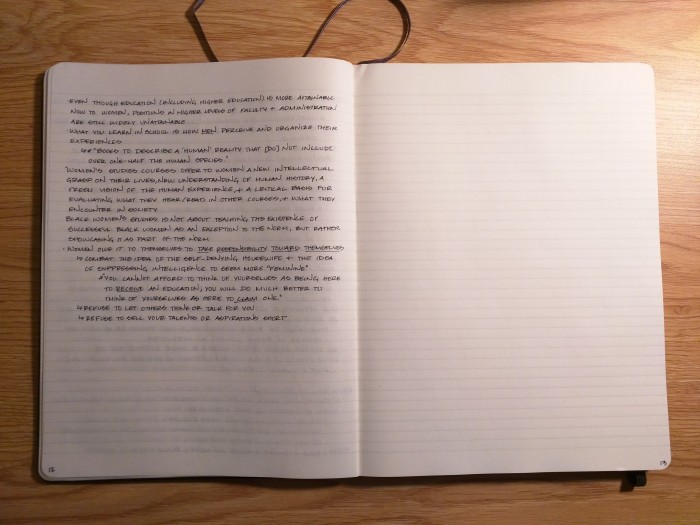
Now you’re revved up and ready to go. You can either keep going and make a note summary page (which I’ll show you next week), or you can leave it. These will also be helpful when reviewing for tests and quizzes. You can highlight or underline, or use even more stickies (which is what I usually do) as you review.
Well, that’s all I have for you right now. Happy studying!
xoxo, S

Hey could you do tips like this for lecture notes or powerpoint slides, I find directly writing out everything is not working for me and found this post to be a really great option to my previous study methods!
LikeLiked by 4 people
Hey Laura! I can definitely do a post like that, it will just have to wait until the school year starts. The class I’m taking right now is all online, so there aren’t any lectures for me to attend. I start class August 17th, so be on the lookout!! Sorry I don’t already have one 😦
LikeLiked by 3 people
Hello, I was wondering how you categorized your stickies. I know you mentioned you used one for vocab, but for the other kinds of stickies?
I’m going to need to take notes for my APUSH class and would LOVE to use this method. I’ll definitely be using one type for important info and another for vocab, are there any other types of stickies i might need that you find useful? Like one for….idk….key event for the time period. (just an example because i’m unsure and curious as to what you used the little pink stickies for)
LikeLike
Okay so really any sort of color system that works for you will work for this. Whatever you need a color for, go for it. My three colors for this specific class were vocab, important concepts, and direct quotes, but for math classes I’ll add another for equations/examples, and one for different events or years would be really helpful for creating a sort of timeline for history courses.
LikeLike
Hellooo!!! This was a great post!!! I want to start writing better notes that will actually be useful for to study from. I’m am Electrical Engineering major and I was wondering if you could write a post demonstrating your notes for your engineering courses. I find that once a course becomes technical, it’s harder for me to organize the notes.
LikeLiked by 1 person
Sure! I won’t be taking any Engineering classes until the end of August, but I’ll be sure to do just that!!
LikeLiked by 1 person
Thanx so much!! I’ll be right there with you starting my engineering classes so no rush!
LikeLiked by 1 person
Reblogged this on abstractlysydney.
LikeLike
Reblogged this on TheScowlingDaedreemha.
LikeLike
Ok first off this is the most fucking beautiful thing I have ever seen. I have such a thing for organization and I love moleskines and your handwriting is perfection. I’m gonna use this method but am thinking the sticky note to notebook note strategy might get a little crazy/time consuming esp. with a ton of reading heavy classes. Any suggestions?
LikeLike
So I have a few different methods of taking notes. This one works best for this sort of class, where the reading is minimal throughout the week but heavy in information and concepts. I’ll post some more methods when I start to take different classes in the fall 🙂
LikeLike
Reblogged this on The Patron Saint of Hard Times.
LikeLike
Reblogged this on kitschhhhhy.
LikeLike
I’m a professor who teaches freshmen and this is brilliant. I will be using this post, and likely others you do, to help them learn how to take notes.
LikeLike
This is amazing.
LikeLike
I think this is the best strategy ever, I will be using it to prepare for my classes on my practicals and when I start working, Thank you.
LikeLike
Reblogged this on Fragrance in My Garden and commented:
Really helpful tips for students.
LikeLike
Reblogged this on This big thing called Life and commented:
I’m a huge nerd, so anything academically related, I actually like reading! There are some good organization tips in here!
LikeLiked by 1 person
Reblogged this on A Lost Girl's Notebook.
LikeLike
You….. are a goddess. This is remarkable and unbelievable and doesn’t have to be used under purely academic circumstances which I LOVE. Thank you for this!!
LikeLike
Reblogged this on Renaissance Learner.
LikeLike
Do you do all the weekly pages on following pages or do you put the week’s work after the week’s page and only put in the outline for the next week afterwards? This is really helpful btw – thanks!
LikeLike
I do my weekly pages at the start of each week, but feel free to leave room for yours at the beginning of your notebook!!
LikeLike
Genius! As a mom who’s about to send her son to high school – I’m SO pleased I found your blog! You know, it seems like THE biggest instruction missing in our elementary and intermediate schools is HOW to manage and retain the information you are learning. It can be very frustrating. I’m sure others might think a parent could teach skills that aren’t in schools. But trust me, a 14 year old boy does NOT listen to his parent’s advice. 🙂 So, after a week of research on this subject (think about 40 hours on Pinterest, Google, etc.) it’s the ONLY idea that appealed to him and me! I’m so thankful. Oh, and a bit of advice? Copyright, Trademark, Patent… now. 🙂
LikeLiked by 1 person
I am anxiously awaiting the summary page. I just realized I have no clue how to study (this is a terrifying revelation for your first semester in college)
LikeLike
Reblogged this on internetaddictdotcom and commented:
reference
LikeLike
Reblogged this on Randomly Normal and commented:
Now THIS is how you write down notes. Wish I learned of this method in my English classes.
LikeLike
This is fabulous. I did a similar thing while studying, though I preferred to print out my monthly/weekly calendars and used a 3 ring binder with pocket dividers for my subjects. However, I didn’t use all the sticky notes and now I wish I had thought of that!
LikeLike
This is a different take on what I usually see on notebook taking. I might try it out, but how would you modify this method for taking notes from science (or math) textbooks?
LikeLike
*More specifically, how do you go about organizing all of the terms without being overwhelmed, since there’s more fine details in science/math as opposed to big picture items found in other subjects.
LikeLike
So my semester will start up again in about a week, and I’m going to try to get a post up about STEM notes from a textbook, so just keep an eye out 🙂
LikeLike
Reblogged this on Bút sáp màu.
LikeLike
Reblogged this on Help Make A Difference Now.
LikeLike
Bless you. I thought I was the only person who spent time writing in their notebooks/textbooks like this. It’s such a relief to know I’m not. Haha – fantastic post.
(P.S. Staedtler pens are my favorite!)
LikeLike
Reblogged this on and commented:
Looks pretty neat. Might attempt this someday.
LikeLike
I really enjoyed the read.
I had a similar type of organizing stuff through the last year of high school. And it is really helping me through college. I even put stickers on the notebooks’ sides so I could distinguish them.
I liked how you put it down and explained every step. Even the writing tools are professional.
I fancy your way of handwriting btw. Would you mind making a worksheet with all the letters?
LikeLike
thanks, I’m starting my first day in high school and I have no idea what I’m doing. Thanks for the advice!
LikeLike
wow, this is brilliant. even though I’m not a native speaker this is written so understandably, and it’s a perfect way to prepare for my exams. I have just one big book with a lot of chapters, and with your method I can summarise each chapter easily. this really helps me! thank you!
LikeLike
Hey! I loved this post, and really love your method. I’m a mechanical engineering major and I would really appreciate if you could make a post in regards to how you take notes for Calculus or physics based courses. That would be beyond helpful. You’re awesome!!
LikeLike
I loved reading this post. As a pharmacy student, I think it’ll work well for therapeutics. Do you have a reasonable alternative for the Moleskine notebook or is it worth the money? Also, do you have a reading form for your notes from a lecture? Thanks!
LikeLike
Really any notebook you want will work just fine. I just like my Moleskines a lot haha.
LikeLike
your notebook is so well organized and beautiful! Thanks for sharing the tips 🙂
xx closetchronicle.blogspot.com
LikeLike
omg will be using this advice in college next year, thank you! ❤
LikeLike
This is really great! I love how organized and pretty your notebook is. Your note-taking method is really helpful and actually makes me want to read my textbooks. Thanks for sharing this.=)
LikeLike
1. Your handwriting is beautiful! That’s always the first thing I see when looking for posts on how to organize notes. I’m more likely to keep reading if I like the handwriting.
2. This definitely looks like the most efficient way to take notes out of a textbook that I have seen, and I’ve been all over Pinterest trying to find one! Thank you so much for sharing! I can’t wait to try it out!!
LikeLike
Great post, thanks! 😀
LikeLike
Why do the post-its go back into your textbook? How do you remember where they go?
LikeLike
I put them back in the book so that, when studying for the exam and I’m reading the book again as well as my notes, I can see where my thought process was going. It’s personal to me, and if you decide to not return the stickies to the book, that’s okay too. If I’m worried about remembering, I’ll write the page number in the corner of the sticky, but usually the information in the book follows a train of thought and it’s easy to put the stickies back where they came from.
LikeLike